(Feature Impact) If your summer schedule is already crammed with cross-country trips, social events and activities for the kids, the last thing you likely want to think about is meal-planning.
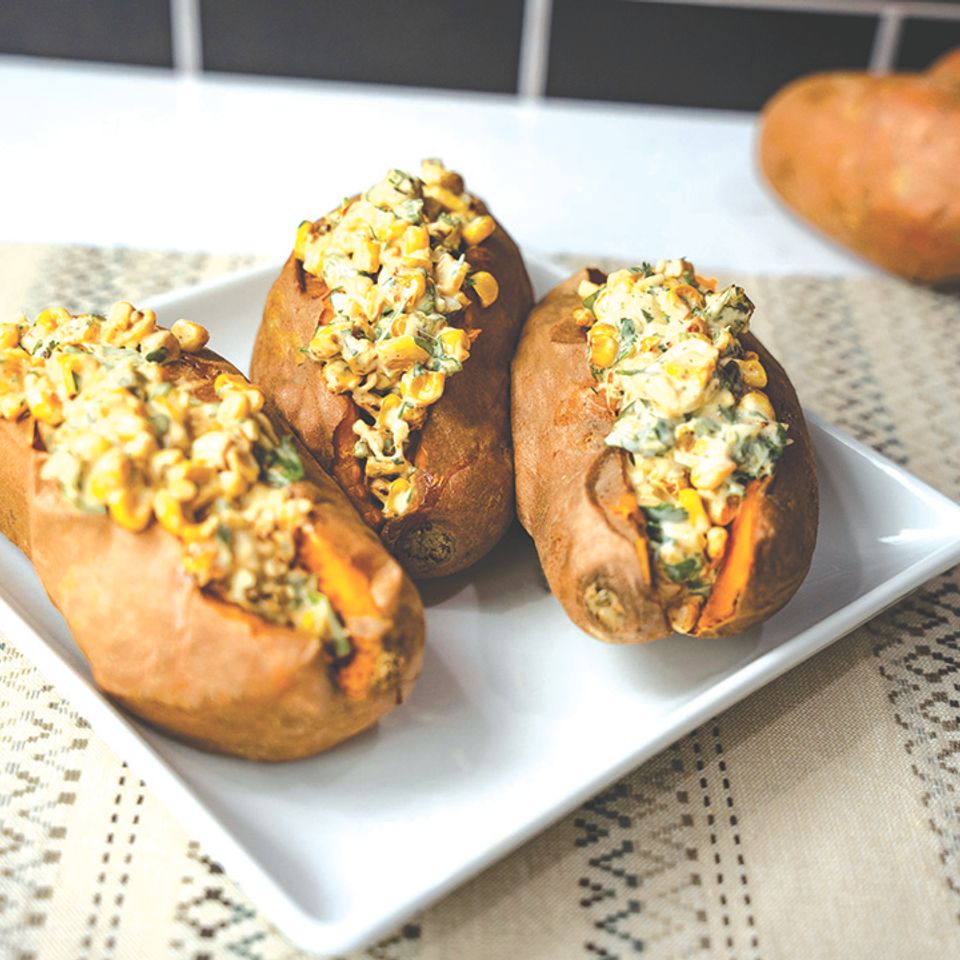
Fueling up for all those fun moments that summer can bring requires a little extra energy, making North Carolina Sweetpotatoes a family-friendly solution that can enhance both flavor and nutrition in sweet and savory dishes. While you might not be ready to think about next week’s meal plans, these Sweetpotato Meal Prep Jars offer an easy way to give your brain a break.
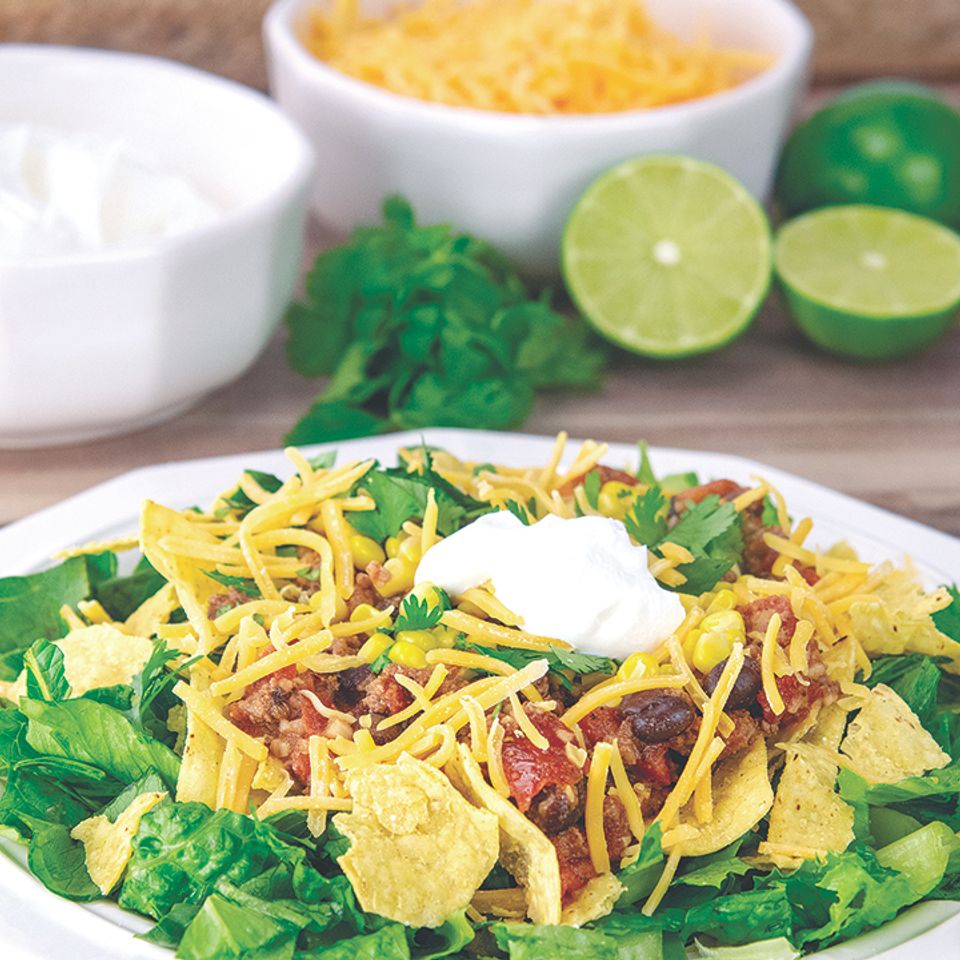
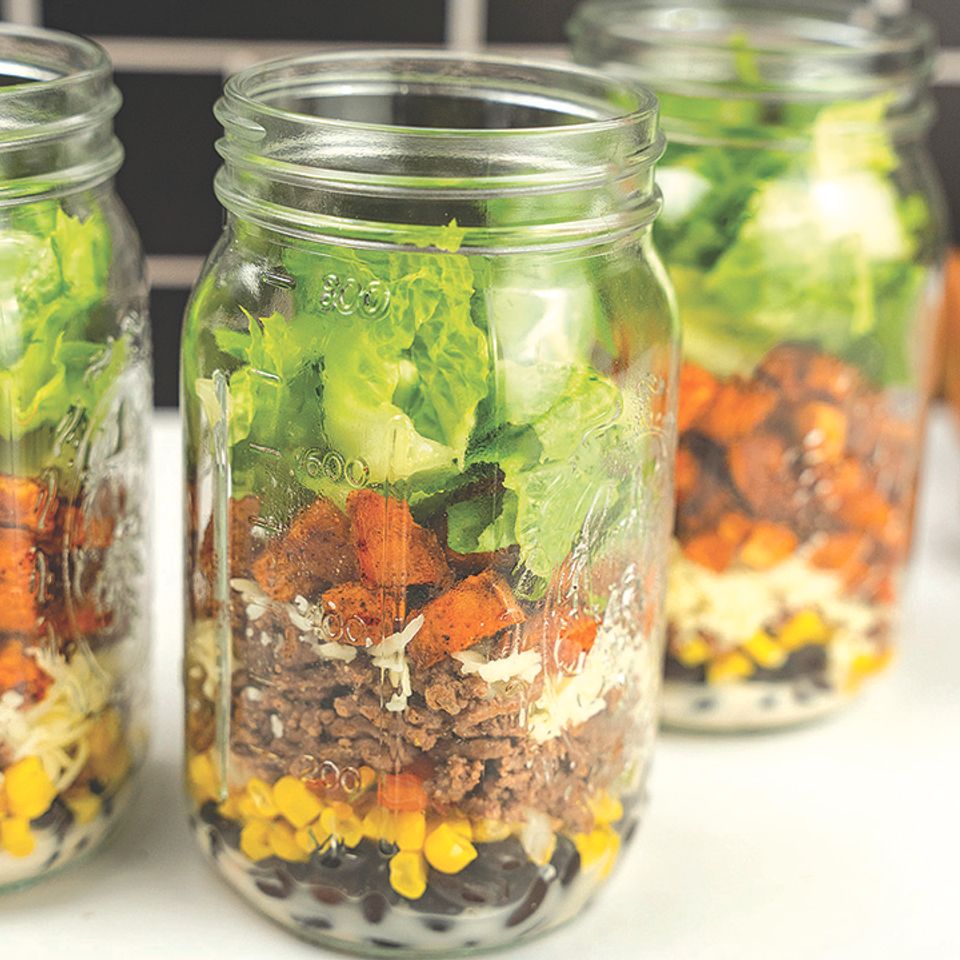
When it’s time to eat, just dump the contents of the jars onto a plate and enjoy complementary flavors without the hassle. This ready-to-eat recipe includes a refreshing pico de gallo dressing that makes it feel like you’re enjoying a fresh-cooked meal.
Find more nutrition-boosting summer solutions at ncsweetpotatoes.com.
Sweetpotato Meal Prep Jars
Recipe courtesy of the North Carolina Sweetpotato Commission
Prep time: 20 minutes
Cook time: 25 minutes
Servings: 3
Dressing:
Directions:
Fueling up for all those fun moments that summer can bring requires a little extra energy, making North Carolina Sweetpotatoes a family-friendly solution that can enhance both flavor and nutrition in sweet and savory dishes. While you might not be ready to think about next week’s meal plans, these Sweetpotato Meal Prep Jars offer an easy way to give your brain a break.
When it’s time to eat, just dump the contents of the jars onto a plate and enjoy complementary flavors without the hassle. This ready-to-eat recipe includes a refreshing pico de gallo dressing that makes it feel like you’re enjoying a fresh-cooked meal.
Find more nutrition-boosting summer solutions at ncsweetpotatoes.com.
Sweetpotato Meal Prep Jars
Recipe courtesy of the North Carolina Sweetpotato Commission
Prep time: 20 minutes
Cook time: 25 minutes
Servings: 3
Dressing:
- 1/4 cup pico de gallo
- 3 tablespoons sour cream
- 1/2 teaspoon taco seasoning
- 2 medium sweetpotatoes, chopped
- olive oil
- 2 1/2 tablespoons taco seasoning, divided
- 1 pound ground grass-fed beef
- 1 an black beans, rinsed
- 1/2 cup cooked corn
- 1/2 cup pico de gallo
- 1/2 cup shredded cheese
- 2 cups romaine lettuce, chopped
Directions:
- To make dressing: In medium glass, whisk pico de gallo, sour cream and taco seasoning.
- Preheat oven to 400 F.
- Toss sweet potatoes with olive oil and 1 tablespoon taco seasoning. Spread in even layer on baking sheet and bake 20-25 minutes, tossing halfway.
- In skillet, brown beef with remaining taco seasoning.
- Assemble three meal prep jars with dressing on bottom followed by black beans, corn, pico de gallo, cooked beef, cheese, sweet potatoes and romaine.
- To serve, dump from jars onto plates.