Make Mornings a Breeze with Time-Saving Breakfasts

(Family Features) Make your mornings easier with delicious, better-for-you meals you can make ahead of time using simple ingredients like Success Boil-in-Bag Tri-Color Quinoa, which offers a heat-safe, BPA-free and FDA-approved bag and is easily prepared in just 10 minutes. You don’t have to know how to pronounce quinoa to enjoy its light, nutty flavor packed with protein and all nine essential amino acids.
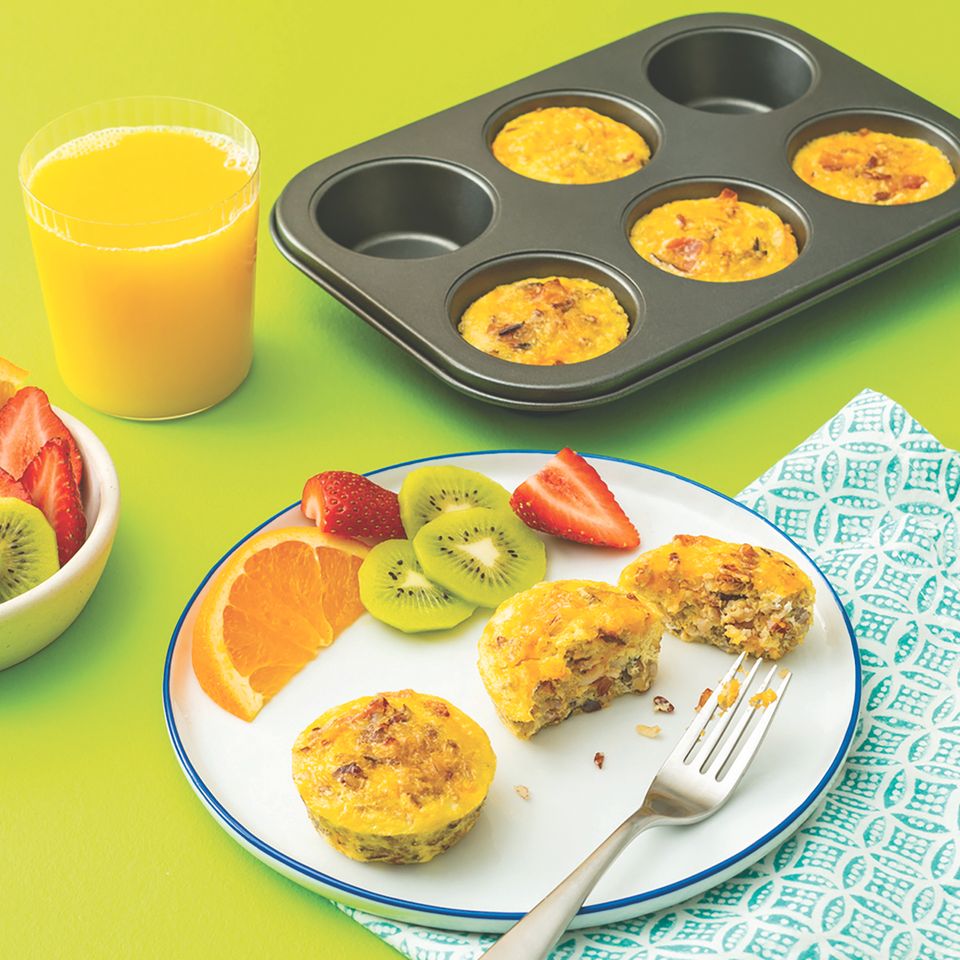
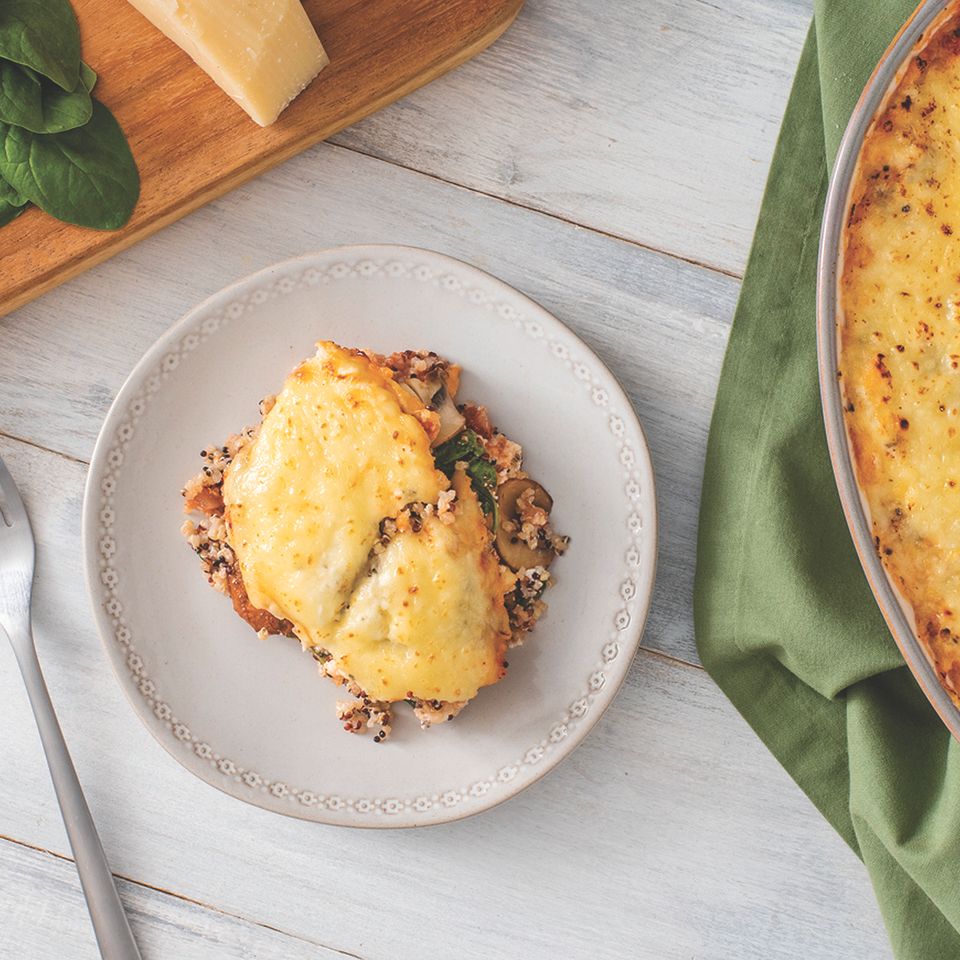
As a good source of fiber, it’s a perfect solution composed of a medley of red, black and white quinoa that can make these Ham, Cheese and Zucchini Breakfast Cups a breeze. They’re an ideal on-the-go solution for weekday breakfast bites that fit your busy schedule.
Cook up a batch as part of your Sunday meal prep and enjoy a week’s worth of tasty, simple cups for the entire family. Once the combination of green onions, cheddar, ham, quinoa and more have been cooked and cooled, they can be refrigerated for up to one week.
Ham, Cheese and Zucchini Breakfast Cups
Prep time: 15 minutes
Cook time: 25 minutes
Servings: 12
• 1 bag Success Tri-Color Quinoa
• nonstick cooking spray
• 1 cup shredded cheddar cheese
• 1 cup shredded zucchini
• 1/2 cup diced ham
• 2 eggs
• 1/4 cup egg white
• 1/4 cup sliced green onion
• 1/2 teaspoon salt
• 1/4 teaspoon black pepper
Directions:
Prepare quinoa according to package directions. Preheat oven to 350 F.
Coat 12-cup muffin tin with nonstick cooking spray.
In large bowl, combine shredded cheddar cheese, shredded zucchini, diced ham, eggs, egg white, sliced green onion, salt and black pepper. Mix well. Spoon batter into prepared muffin tin.
Bake 25 minutes. Cool 5 minutes then remove to wire rack to cool completely.