Take dinner outdoors with grilled chicken skewers
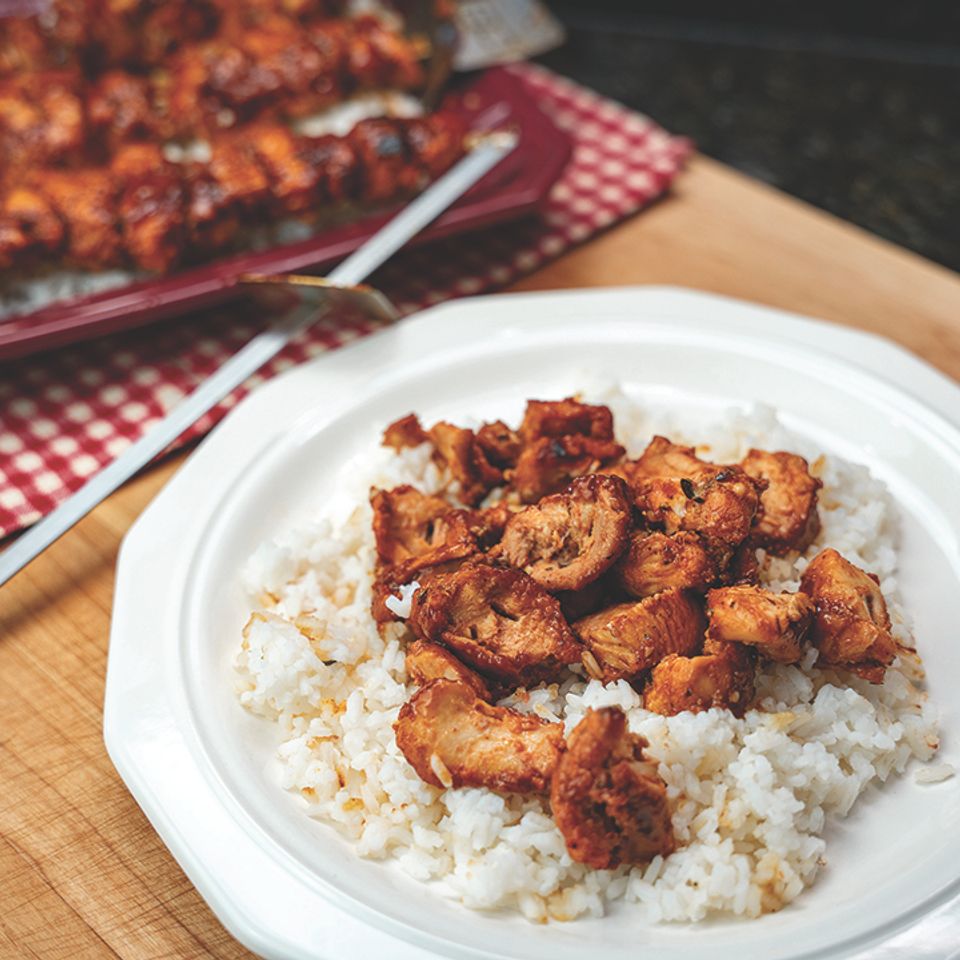
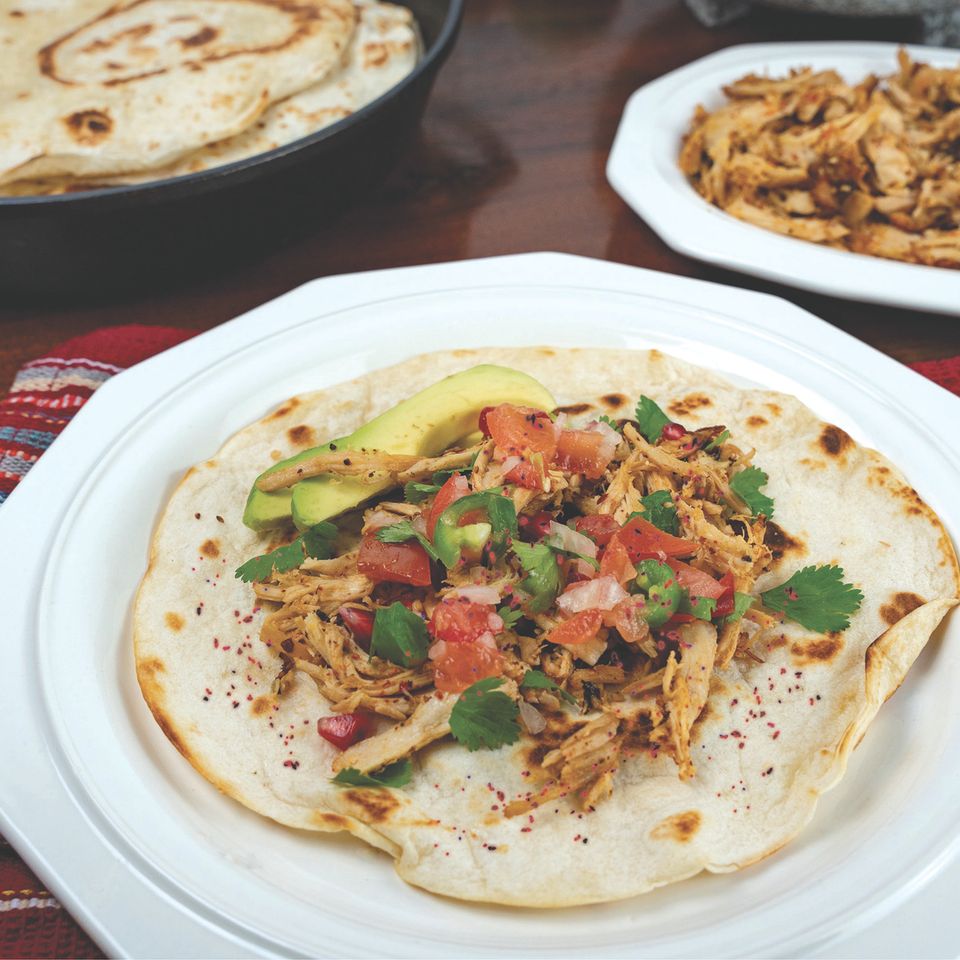
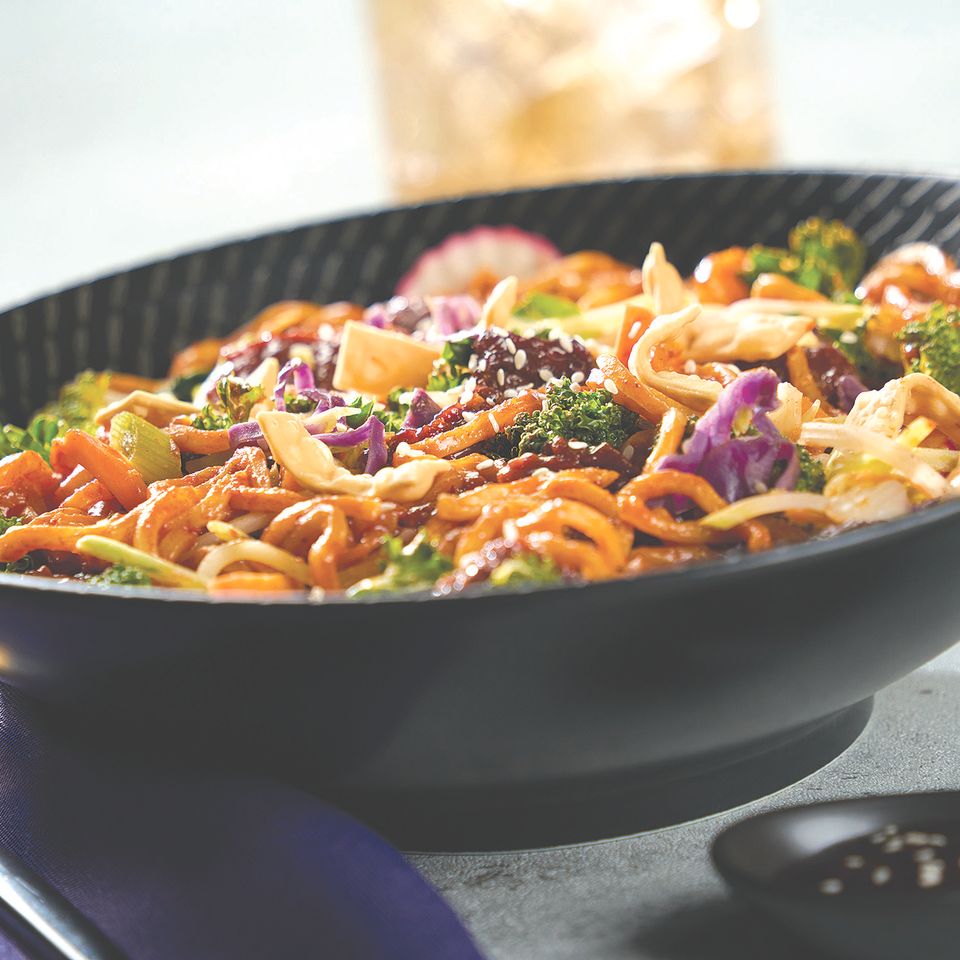
(Family Features) Keep the heat out of your kitchen this summer with these grilled chicken skewers. Enjoy them on their own, pair with rice, serve as chicken tacos or toss in a salad for nearly endless, delicious possibilities. Visit Culinary.net to find more summer flavor inspiration.
Chicken skewers
Recipe courtesy of “Cookin’ Savvy”
Servings: 4-6
Ingredients:
Directions:
Chicken skewers
Recipe courtesy of “Cookin’ Savvy”
Servings: 4-6
Ingredients:
- 1 cup brown sugar
- 1 can (6 ounces) tomato paste
- 1/2 cup apple cider vinegar
- 1 tablespoon mustard
- 2 teaspoons onion powder
- 1 teaspoon garlic powder
- 2 teaspoons smoked paprika
- 2 teaspoons barbecue seasoning
- 1/2 cup honey
- 1/4 cup teriyaki sauce (optional)
- 2 pounds boneless chicken
- rice, for serving (optional)
Directions:
- In saucepan over medium heat, cook brown sugar, tomato paste, apple cider vinegar, mustard, onion powder, garlic powder, paprika, barbecue seasoning, honey and teriyaki sauce until well combined.
- Cube chicken and place in large bowl. Pour sauce over chicken, saving some for basting. Marinate at least 1 hour.
- Heat grill to medium heat.
- Place marinated chicken cubes on skewers and arrange on baking sheet. Grill until chicken reaches 165 degrees internal temperature, 20-30 minutes. Baste with remaining sauce as needed. Serve over rice or use for chicken tacos.
- Substitution: Use hot honey instead of regular honey to spice it up.